How to Set Up Online Ordering for a Restaurant: 24-Hour Prep Plan
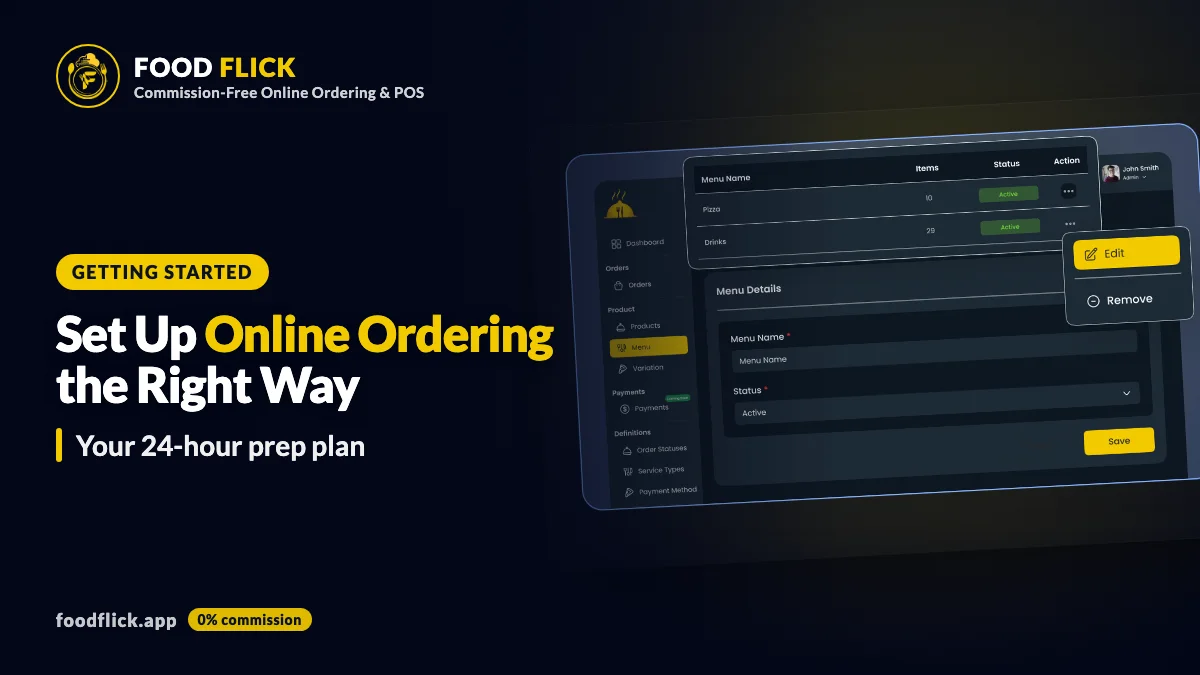
Setting up online ordering sounds like a big project, but most of the work is gathering information you already have. This guide is for restaurant owners who want to know how to set up online ordering for a restaurant without surprises.
A fair warning about the title: you can do the preparation in about 24 hours, but you cannot promise a go-live time that quickly, because payment accounts, domains and testing take as long as they take. Below is a one-day prep plan, then what happens after.
How long does it really take to set up online ordering?
It splits into two parts.
Your preparation: about one day. Collecting the menu, photos, hours and account details.
Setup by your provider, then testing. This depends on the provider. FoodFlick's team builds your menu, branding, domain, SSL, payments and store settings for you, and most restaurants go live within a few days of completing onboarding.
The faster you hand over complete information, the faster the second part goes. Missing prices and unclear modifiers are the usual causes of delay.
What should you prepare in the first few hours?
Get your menu into one clear document. It does not need to be pretty. A spreadsheet, a document or clear photos of a printed menu all work.
For every item, write down:
Name and a short description.
Price, and prices for each size.
Add-ons and toppings, with their extra costs.
Combos or set meals, and what is included.
Allergen information, if you provide it. Ask your local food authority what you must show.
Any item that is only sometimes available, such as lunch specials.
Mark the dishes you want to feature at the top. Fewer, clearer categories are easier for customers to scan on a phone.
What photos and branding do you need?
Photos raise the quality of your page more than almost anything. You do not need a studio. Take well-lit, close, consistent shots of your best sellers, preferably in daylight, on the same surface.
Also gather your logo, brand colours and a short description of your restaurant. If you do not have a logo file, a clear photo of your sign will do as a starting point for your provider.
Which business settings do you need to decide?
These answer the questions customers and your kitchen will ask on day one:
Opening hours. Separate hours for pickup and delivery if they differ, and holiday closures.
Order types. Delivery, pickup, dine-in ordering, or a mix.
Delivery areas. Decide where you deliver, with distance or postcodes, plus any minimum order and delivery fee for each zone.
Preparation time. How long you tell customers to expect, for pickup and for delivery.
Taxes. Your tax rate and whether menu prices include it. Confirm with your accountant or tax authority.
Discounts and pricing rules. Any promotions you want from day one. Keep these simple at first.
How do you set up payments?
Open an account with a payment provider, for example Stripe, or decide to accept cash on delivery or payment in-store. FoodFlick supports Stripe and other providers, cash on delivery and in-store payment, and customer payments go directly to your payment provider, not through FoodFlick.
Payment providers verify your business, which needs identity and bank details. Start this early, because verification can take longer than the rest of your preparation. Card processing fees from the provider still apply to card orders: Stripe lists 2.9% + 30 cents for standard US domestic cards. Check your provider's current rates for your country.
What happens after you hand everything over?
With FoodFlick, the team sets up your menu, branding, domain, SSL, payments and store settings. You review the result, correct anything, and then test.
A sensible review checklist:
Prices and options match your menu.
Photos and descriptions are right.
Hours, delivery zones and fees are correct.
Tax shows the way you expect at checkout.
A test order reaches the kitchen and prints on your thermal printer.
Place at least one pickup test and one delivery test, and pay with each method you accept. Do it at a quiet time with your kitchen team.
What does a 24-hour prep plan look like?
This is a suggested schedule for the owner, not a go-live promise. Adjust it around your service hours.
When | Task | Done when |
|---|---|---|
Hours 0 to 2 | Start your payment provider account and check what verification documents it asks for | Application submitted |
Hours 2 to 6 | Write down the full menu: items, sizes, add-ons, combos, prices | One document with every item |
Hours 6 to 10 | Photograph your best sellers and collect your logo | Photos in one shared folder |
Hours 10 to 14 | Decide hours, order types, delivery areas, fees and prep times | A one-page settings sheet |
Hours 14 to 18 | Confirm tax settings with your accountant and list any promotions | Tax and discount notes written |
Hours 18 to 24 | Send everything to your provider and nominate one person to answer questions | Onboarding information handed over |
From there, the setup team takes over. Keep your phone and email close, because quick answers to their questions save more time than anything you did during the prep day.
What should you ask any provider before you commit?
Whichever system you choose, ask these questions so there are no surprises later:
What does setup cost, and who builds the menu: you or the provider?
Is there a percentage fee on each order, or a flat subscription?
Which payment providers can I use, and who holds the money?
Can online and walk-in orders be managed in one place?
Does the system print tickets in my kitchen?
What support do I get, and how do I reach it?
If I leave, can I take my menu and customer data with me?
Write the answers down. If a provider cannot give a clear answer, treat that as information.
How do you get customers to use it?
A live page does nothing until people can find it. Put your ordering link everywhere customers already look:
Your Google Business Profile. Google explains how to manage online ordering options, and your profile has to be verified first.
Your Instagram or Facebook bio.
A QR code on tables, packaging, flyers and receipts.
A message to your regular customers saying they can now order direct.
Start with your regulars. Customers who already like you are the easiest to move away from paying a commission-heavy app.
Common mistakes to avoid
Starting without a complete menu. Missing sizes and add-ons are the biggest cause of delay.
Leaving payment verification until last. Start it on day one.
Going live without testing. Test delivery, pickup and each payment method.
Setting delivery zones too wide. Start with the areas you can serve on time, then grow.
Not telling anyone. Share the link with customers and staff the same day.
Expecting an instant launch. Plan for days, not hours, and be ready for review questions.
How FoodFlick helps
FoodFlick is a commission-free online ordering and POS platform where the FoodFlick team sets up your menu, branding, domain, SSL, payments and store settings for you. Orders arrive in the same place as walk-in orders, with real-time kitchen workflows and thermal printing, and you set business hours, taxes, discounts and delivery zones. Support is ticket-based on every plan. Read more about the online ordering system, see how it works or check pricing.
Sources
Google Business Profile Help: Manage online ordering options, checked November 2026
Stripe: Pricing, checked November 2026
Frequently asked questions
How long does it take to set up online ordering?
Preparing your menu, photos, hours and payment details can take a day. After that, timing depends on your provider. FoodFlick says most restaurants go live within a few days of completing onboarding, so plan for days rather than hours.
What do I need before I start?
You need a complete menu with prices, sizes and add-ons, food photos, opening hours, delivery areas and fees, your tax settings, a business bank account and a payment provider account. A printed menu photographed clearly is a fine starting point.
Do I need my own website or domain?
Not necessarily. Many systems give you a branded ordering page, and FoodFlick sets up your ordering website on your own domain with SSL. If you already own a domain, have the login details ready, or be ready to choose a new one.
How do customers find my online ordering page?
Link it from every place customers already look: your website, Instagram bio, a QR code on packaging and tables, receipts and your Google Business Profile, where you can add an ordering link once your profile is verified.
Should I test orders before going live?
Yes. Place a test pickup and a test delivery order, pay by each method you offer, and check the order reaches the kitchen and prints correctly. Do it at a quiet time, with your team watching, before you share the link.